
Tents & camp comforts
Glamping ideas: make a camp easier to use
Useful glamping ideas start with a clear bed layout, personal night light, a dry-gear routine and simple meals.
Reviewed
The short answer
Useful glamping ideas start with a clear bed layout, personal night light, a dry-gear routine and simple meals. Add comfortable seating or a small personal item after the basics work. Choose fewer extras when they would crowd the doorway or create difficult packing.
Guide sections 13
- Glamping ideas for the sleep area
- Build a small entry zone
- Choose light for tasks rather than a display
- Make one useful place to sit
- Simplify the first meal
- Use a dry-and-wet packing system
- Add one small personal comfort
- Glamping ideas for a first night in your own garden
- Choose one outdoor activity
- Choose one idea to keep after the trip
- Sources and date checks
- FAQ
- Verdict on Glamping ideas
Good glamping ideas make a night outside easier, rather than fill a tent with furniture. Start with shelter, sleep, lighting and a meal plan. Then choose a few extras that fit the site and the luggage space you have.
These ideas work for a personal car camp or a prepared stay after checking what is supplied. They do not require a new building or a glamping business. Keep the exact weather and site rules at the center of the plan.
Glamping ideas for the sleep area
Set the beds before adding anything decorative. Put bags where they do not block the exit or the route to the bathroom. In a bell tent, mark the pole and check the wall slope above a raised bed.
Keep a personal light within reach of each sleeping area. A fixed lamp in a prepared room does not always help someone walking outside at night. Choose a light with a power or battery setup you can manage.
Keep sleep clothing and bedding separate from wet outdoor gear. A dry change and a clear place for used shoes can improve the room more than another large cushion.
Build a small entry zone
Choose a place for shoes and a bag as you enter. The purpose is to keep dirt and wet items away from bedding while leaving the door clear. A modest mat can help if the surface and room rules allow it.
Keep the entrance useful in poor weather. Avoid a pile of decorative items that must be moved each time someone goes out. If the room has steps, ask about lighting and the safe route before arrival.
For your own camp, use a layout you can repeat easily. A clear entry routine takes little gear and remains useful even when the planned outdoor day changes.
Choose light for tasks rather than a display
Use a personal light for paths and a modest light for reading or eating. More brightness is not always more comfort. Ask about the site's quiet and light rules and avoid illuminating neighbouring rooms.
Charge devices at home and carry the right cables. Check whether the room supports the gear you plan. A power outlet in a photo does not grant permission for every appliance.
Keep lights and power items dry and use them as instructed. Avoid adding electrical decorations simply because they look attractive in a gallery. A simple setup is easier to manage at arrival and packing time.
Make one useful place to sit
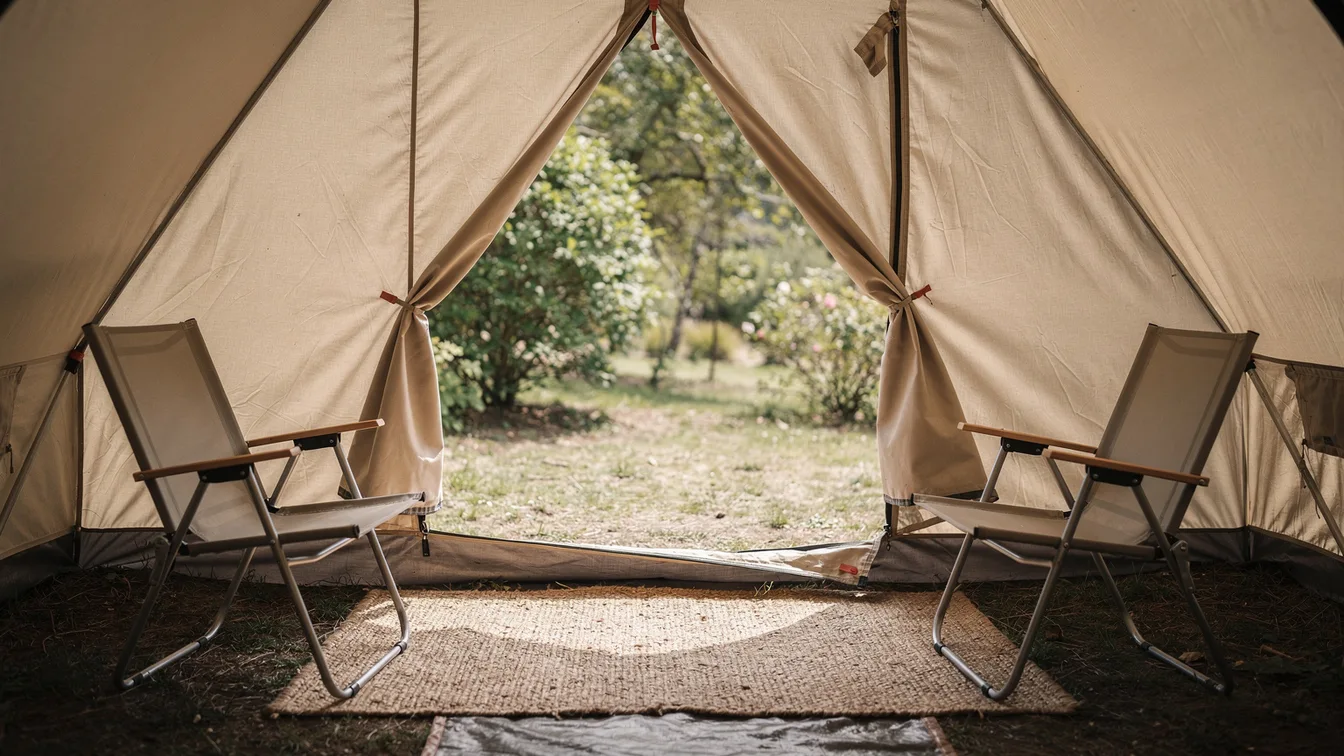
A pair of suitable chairs and a clear eating surface can make time outside pleasant. Check what the prepared room already provides before bringing your own. For a personal camp, compare packed size, stable support and the site footprint.
Put seating where it does not obstruct the entrance or guy lines. Keep a route between the room and bathroom. A wide tent can still become awkward when large furniture fills every open space.
For a short trip, choose seats you expect to use. A bulky lounger may cost more carry and storage work than it gives in comfort. Leave space for the setting itself.
Simplify the first meal
Choose meals that fit the features and need few pieces of gear. Check water, permitted cooking space and food storage before departure. A prepared tent may supply part of that setup while leaving food and personal washing items to you.
Keep the first evening free of an ambitious cooking plan. Arrive, settle the room and make a meal you know how to prepare with the available gear. A simple breakfast can also leave more time for the day out.
Follow site storage rules and keep fuel-burning cooking devices out of an enclosed tent. Comfort should come from a workable routine rather than an improvised indoor kitchen.
Use a dry-and-wet packing system
Keep one part of the bag for clean sleep items and another for used outdoor clothing. A simple container for damp shoes can stop them spreading dirt across the room. Check where wet gear may dry at the stay.
For your own tent, plan drying after the trip before you leave. REI's care guidance stresses dry storage. A large canvas package needs a suitable space at home as well as at camp.
Bring fewer washable decorative items if the forecast is wet. The goal is a room you can use and pack without a difficult cleanup. Dry bedding matters more than a matching colour scheme.
Add one small personal comfort
A favourite mug, a book or a small blanket can make a stay feel familiar. Choose something you will actually use and can pack without taking over the room. Check the supplied bedding before adding duplicate layers.
Keep any decorative piece away from heat and exits, plus electrical gear. Use the site as instructed rather than changing grounds or hanging items from trees. A prepared unit also has its own furnishing rules.
One useful item can be enough. A tent should not become a difficult carry simply to look like a styled room. Leave out extras that matter only to the photograph.
Glamping ideas for a first night in your own garden
A practice night can help you understand the tent and sleep setup before a trip. Choose a suitable, permitted place and a forecast that fits the shelter. The aim is to learn the pitch, bed layout and packing sequence.
Keep it simple. Set up the tent, try the beds and check how the exit works with bags in place. Follow the tent and device instructions, and keep fuel-burning appliances out of the sleeping space.
Afterward, note what worked and what needs changing. A practice pitch can reveal that a bed is too large or a light hard to reach without buying a whole new camp setup.
Choose one outdoor activity
Give a short stay one main activity and space around it. A walk, lake visit or time reading at camp can be enough. Check current access and the route before making a fixed plan.
Keep a simpler alternative for poor weather. The room can still be useful even when the original outing is unsuitable. Avoid making the whole break depend on a single clear-weather view.
Choose the room features that support that slower pace. Food, sleep and bathroom access should be settled before departure. Those details make it easier to enjoy a small plan.
Choose one idea to keep after the trip
Note the small change that made the stay easier. It might be a light within reach, a bag for damp shoes or a meal that needed fewer tools. Keep that idea for the next trip. Leave out the items you did not use.
Try a new layout at home before buying more gear. Move the chairs and bags around the bed footprint. Check that you can reach the door in the dark. Good camp ideas earn their space through use, not just through a photo.
Sources and date checks
- REI: camping checklist: camping kit categories. Prepared rooms need their own supplied-items check.
- REI: choosing a camping tent: capacity and shelter-selection principles, not an exact model review.
- REI: tent care and storage: practice pitching, suitable cleaning and thorough drying before storage.
- CDC: carbon monoxide prevention: fuel-burning devices must not be used in enclosed tents.
Source pages checked 14 October 2026. Access notes can change before your trip. Follow the linked agency or maker instructions for your dates.
FAQ
Do glamping ideas need lots of new gear?
Start with items you already own and the features the room supplies. A clear bed layout, personal light and simple meal plan can improve the stay with little extra gear. Add a chair or small personal comfort only when it fits the space and serves a task. Large decorative sets can wait.
What should I practise before a first personal camping trip?
Pitch the tent and arrange the complete sleep kit with bags and a clear exit. Check every pole and peg, plus required part. Try the lighting and packing sequence too. That practice can reveal fit or handling problems at home, before a late arrival or rain makes them harder to solve.
Verdict on Glamping ideas
Useful glamping ideas start with a clear bed layout, personal night light, a dry-gear routine and simple meals. Add comfortable seating or a small personal item after the basics work. Choose fewer extras when they would crowd the doorway or create difficult packing.
Build the rest of your trip
Use these routes to check the wider area or plan what to bring.